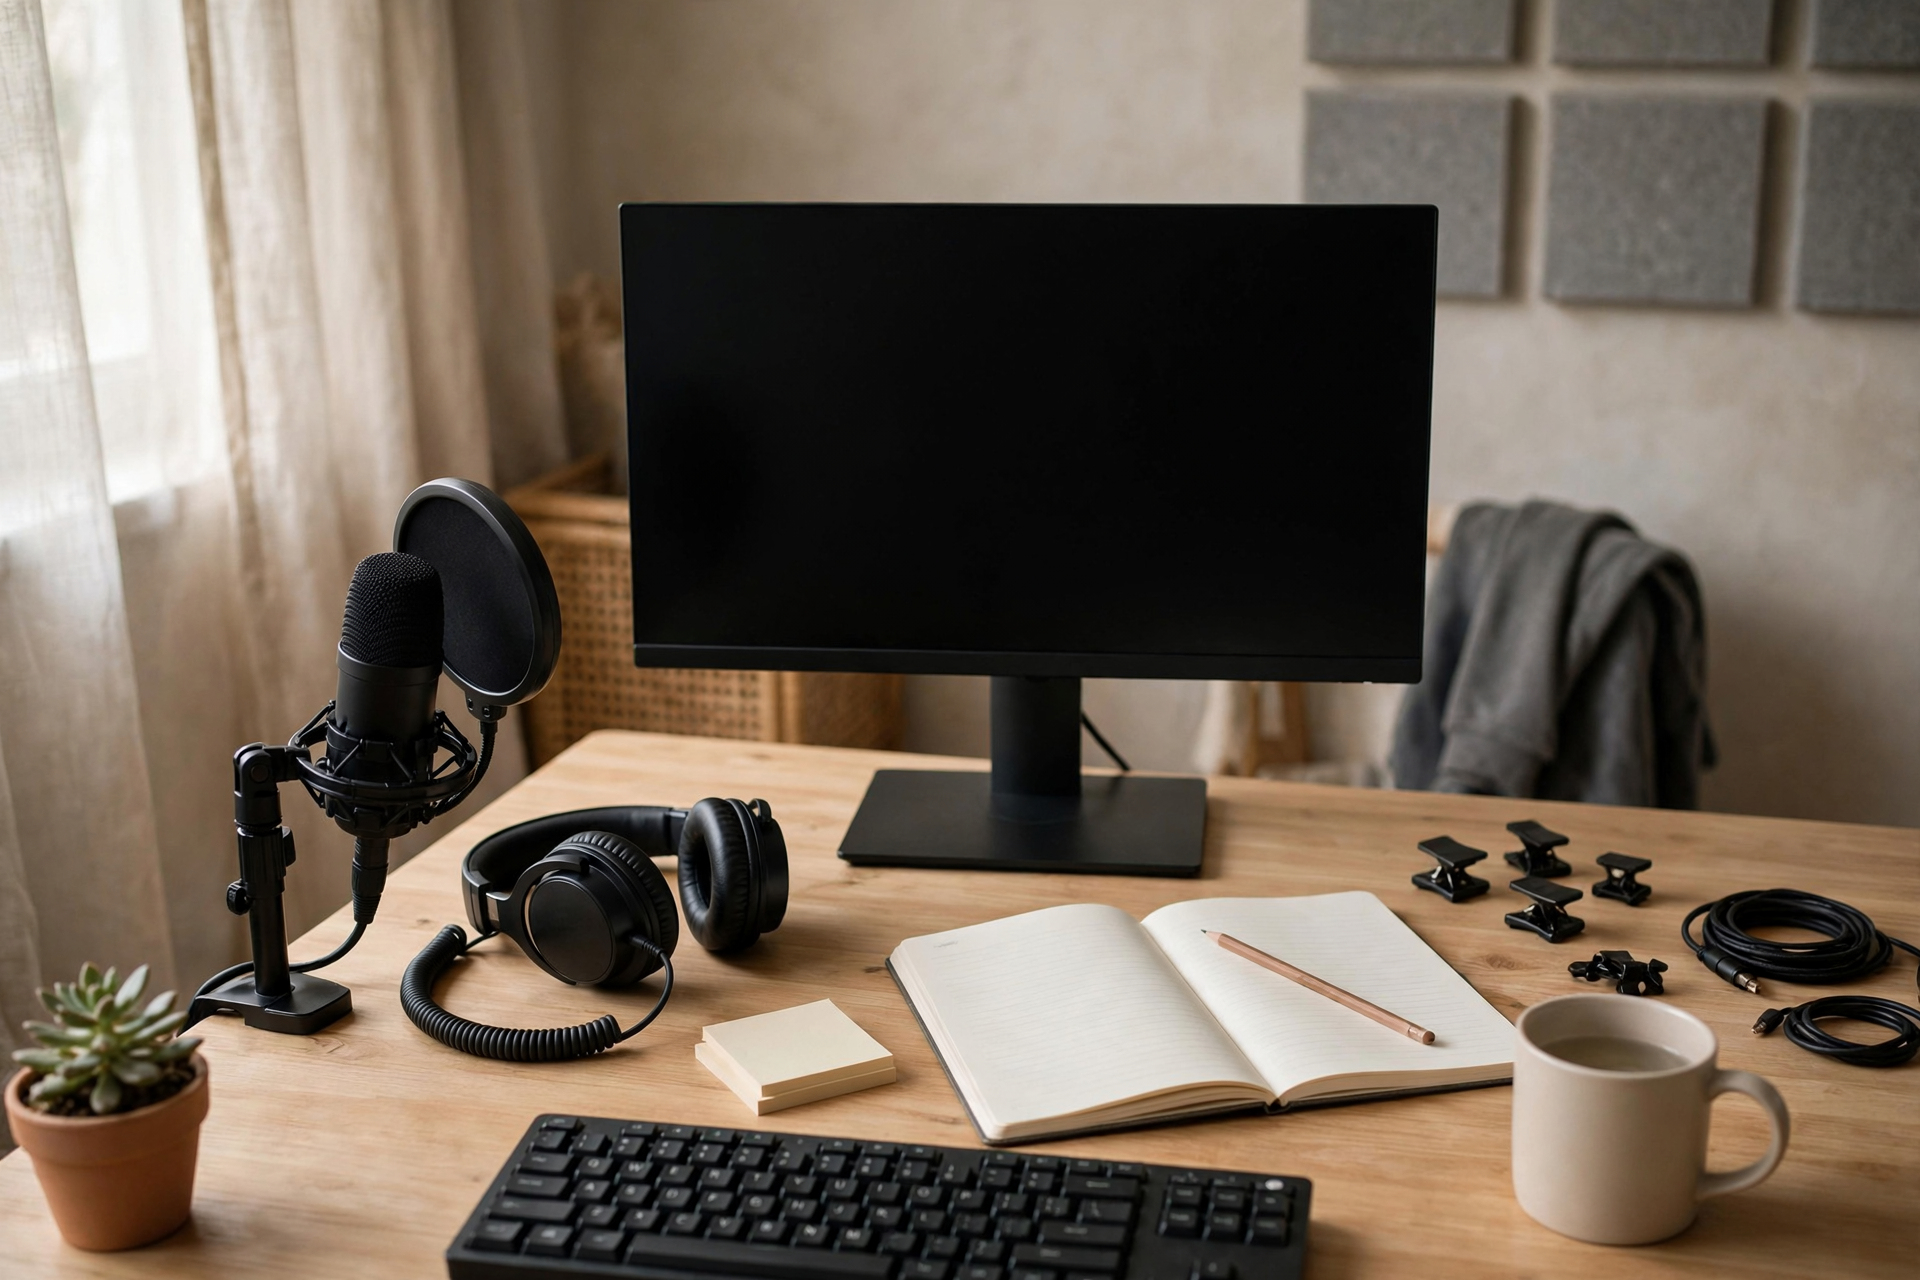
Your first Kick stream is not an audition for perfection. It is a launch test that should answer a few practical questions: can viewers hear and see you, can they understand what is happening, and can you finish the broadcast with enough evidence to improve the next one? Treating the session this way keeps small mistakes from becoming a reason to postpone going live.
Define the pass conditions before you open Kick
Write three pass conditions for the broadcast before touching your streaming software. A useful set is: the audio remains understandable, the main activity is visible, and the stream reaches a planned ending. These conditions are more helpful than vague goals such as looking professional or attracting a large audience, because you can directly check them during and after the session.
Choose one primary activity for the debut and describe its outcome in one sentence. For example: “I will complete two ranked matches and explain my decisions,” or “I will build the first area of this project and show the result.” If the stream has a simple job, you are less likely to fill quiet moments with random changes or abandon the plan when live numbers are lower than expected.
Prepare the Kick account and broadcast path
Sign in to Kick, complete the visible channel details you can control, and confirm that your stream title, category, language, and content settings match what you actually plan to show. Keep the title specific enough to set expectations, such as the activity plus a short objective. Avoid promising a tournament, challenge, or collaboration that is not confirmed.
In your broadcasting software, select the correct Kick connection method, add your microphone and primary content source, and save a separate scene for any starting, break, or ending screen you intend to use. Check that your camera, game or desktop capture, and alerts are not covering important information. If you need a broader preparation checklist, use this first-stream planning guide as a reference without turning preparation into an endless setup project.
Run a short private-style technical check
Before announcing the stream, make a brief test recording or preview run. Speak at your normal energy, play or demonstrate the activity, switch scenes, and create the loudest sound you expect during the broadcast. Then listen back with headphones. A microphone that sounds acceptable while monitoring yourself can still be too quiet, distorted, or overwhelmed by game audio in the recording.
Check the practical failure points one at a time: internet stability, capture source, microphone input, camera framing, and whether notifications or private information appear on screen. Close unrelated applications, silence phone alerts, and keep a backup activity ready if the main software fails. Do not change several settings at once; isolated checks make it easier to identify what actually fixed a problem.
Open with context instead of waiting for viewers
Start the broadcast as though someone could arrive immediately. In the first minute, say what you are doing, what the next milestone is, and how a new viewer can follow along. This might sound like: “I am testing this loadout through three matches; I will explain each change, then compare the results at the end.” That opening gives silent viewers something to watch even if nobody responds in chat.
Keep a small set of spoken prompts beside you, but do not read them mechanically. Use prompts tied to the activity: explain a decision, compare two options, predict what will happen next, or summarize the last completed step. These prompts prevent dead air while preserving a natural tone. They also give you useful evidence about which parts of your format are easiest to explain live.
Use a simple operating rhythm during the broadcast
Divide the stream into three operating phases: start, main activity, and finish. During the start, confirm that the setup is working and state the objective. During the main activity, focus on completing the objective while giving occasional context. During the finish, summarize the result and tell viewers what you would change or continue next time.
Keep the first session short enough to protect your attention. A compact broadcast is easier to troubleshoot, review, and repeat than an improvised marathon. If something breaks, announce the problem plainly, switch to your backup scene or activity, and continue only if the viewer experience remains understandable. If recovery will take too long, ending cleanly is better than leaving an empty or confusing broadcast running.
End with evidence, not a vague goodbye
When the main objective is complete, give the stream a deliberate closing. State what happened, name one useful moment or result, and explain what the next broadcast will test or continue. You can invite viewers to follow if they want that next session, but make the invitation specific: connect it to the activity, timing, or unfinished question rather than repeating a generic request.
After ending, record observations while they are fresh. Note whether the audio stayed clear, where your energy dipped, which segment was easiest to host, how long technical recovery took, and whether the title accurately described the experience. Choose only two changes for stream two. One technical fix and one content or pacing adjustment will produce a clearer comparison than rebuilding the entire channel after a single broadcast.
Ready to run viewers, chatters, or followers from one dashboard?
View pricing