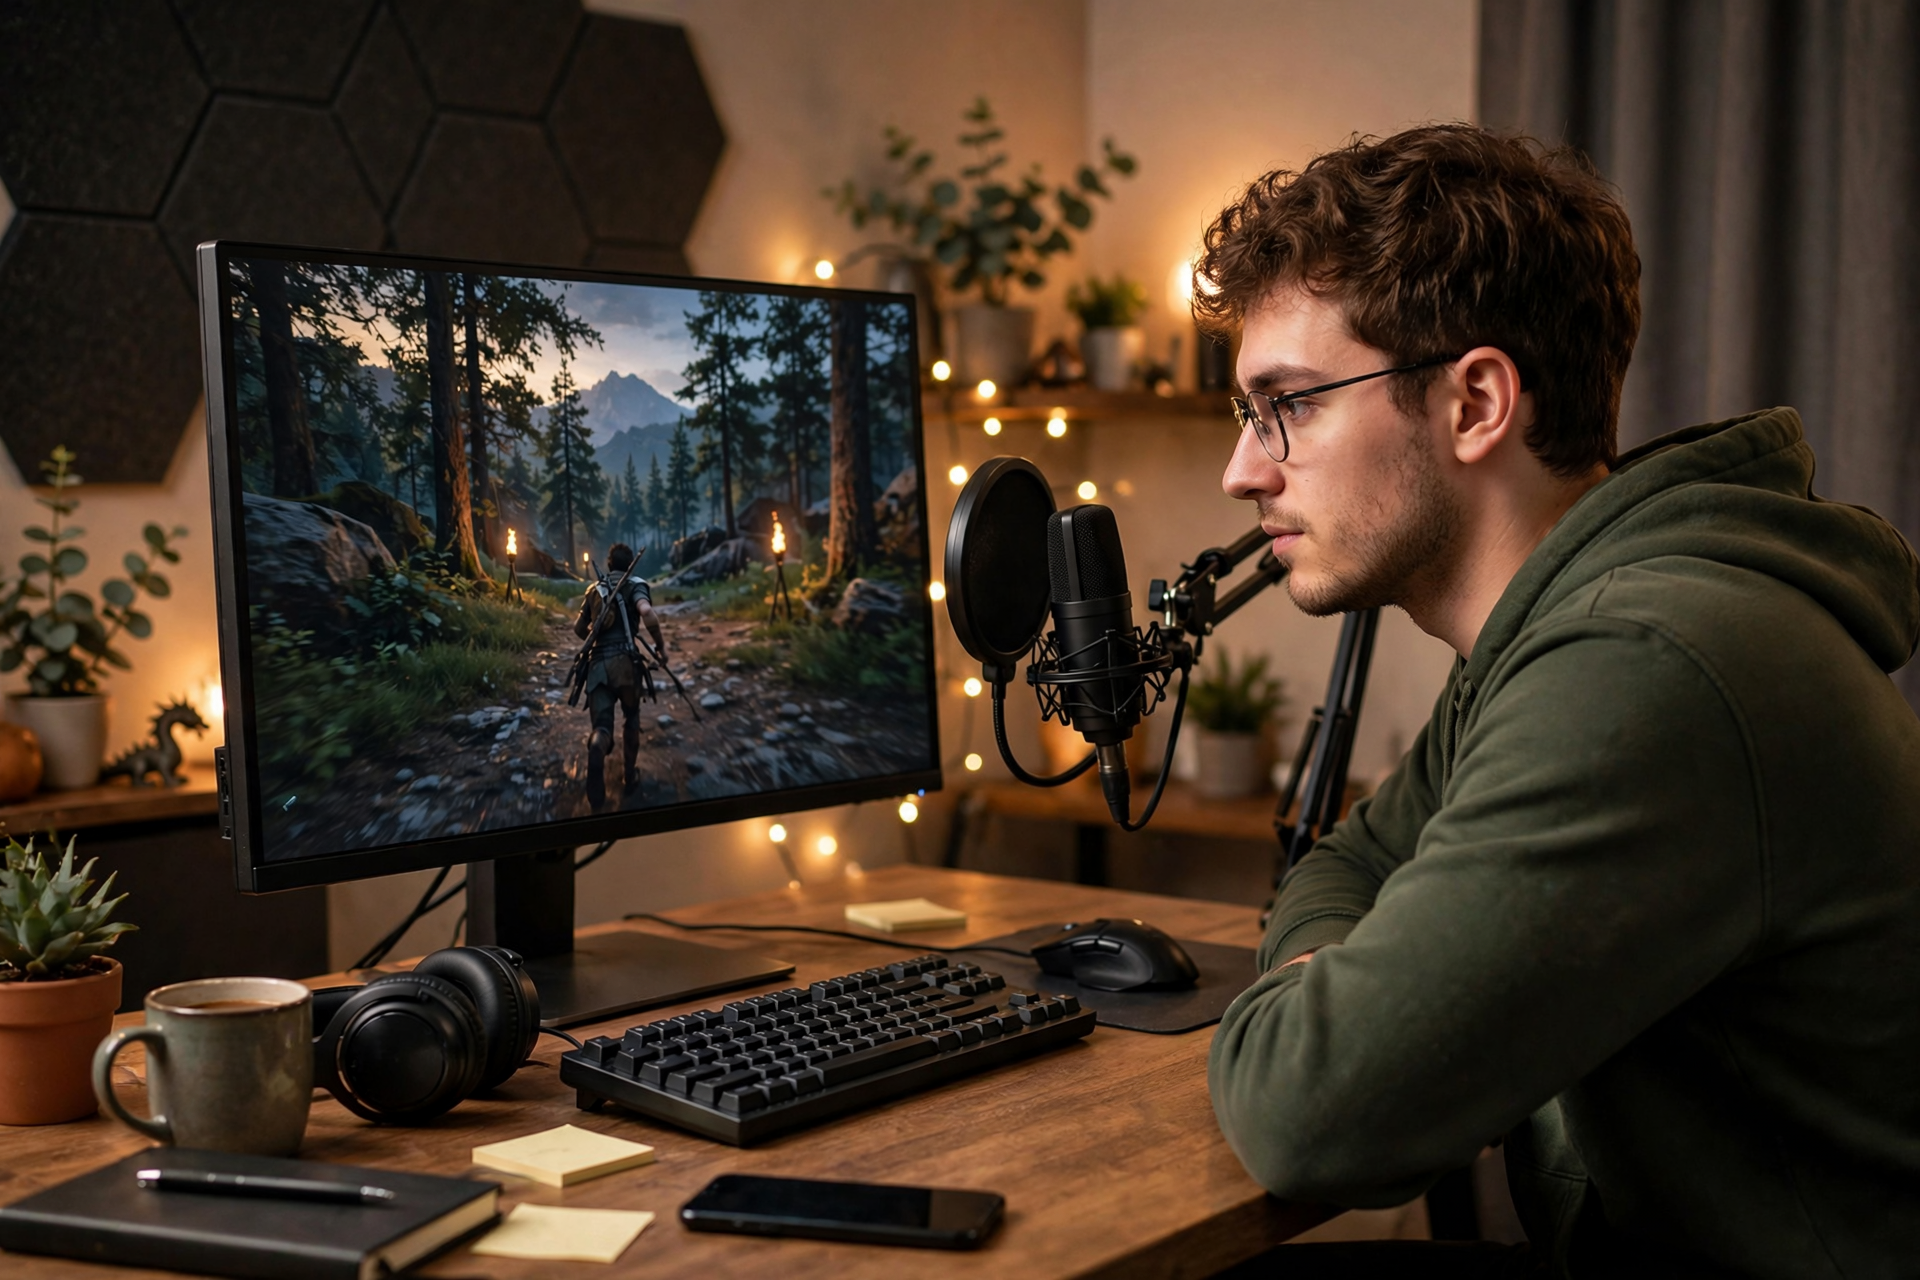
A Twitch clip is more than a saved slice of your broadcast. It is a short introduction to your content, and viewers may see it without knowing what happened before or after the moment. The best workflow is therefore not simply pressing Clip. It is identifying a complete beat, checking what the clip communicates, and sharing it with enough context to earn another view.
Choose a moment with a clear beginning and payoff
Strong clips usually contain a small story: a surprising setup, a decision, a reaction, a joke, or a result. Before clipping, ask whether someone who did not watch the full stream can understand why the moment matters. A clean reaction to an unexpected game event is often more useful than a technically impressive move that needs five minutes of explanation.
Listen for moments that change the energy of the broadcast. A sudden laugh, a bold prediction, a close escape, or a viewer-driven decision can all work. Avoid clipping ordinary commentary just because it happened recently; the goal is to preserve a moment with a recognizable emotional or informational shape.
Create the clip while the moment is still easy to find
During a live broadcast, use Twitch's Clip control when the moment ends or immediately afterward. Twitch will generate a short preview around the point you selected, so you do not need perfect timing on the first click. If you are unsure whether the moment is worth publishing, create the clip anyway and decide during review.
Give yourself a simple signal for future clips. You might say a short phrase aloud, make a quick note in a private document, or use a visible change in your stream layout as a reminder. The signal is not the finished clip; it is an index that helps you return to the right section without interrupting your hosting.
Trim for context instead of maximum intensity
Use the clip editor to include enough lead-in for the viewer to understand the situation. A few seconds of setup can make the reaction feel earned, while a little space after the payoff can make the ending feel deliberate. Start too late and the clip looks confusing; end too early and it feels unfinished.
Review the first and last seconds at normal speed. Remove dead air, menu navigation, repeated words, and unrelated chat reading where possible. Do not cut so aggressively that your reaction appears disconnected from the event. A compact clip with one complete idea is usually stronger than a frantic sequence of every exciting frame.
Check what the clip reveals before publishing
Watch the entire preview with sound. Check that your microphone is understandable, game audio is not overpowering your voice, and the visual focus is still visible in the reduced player. Look for private messages, personal information, unintentional browser tabs, or another person's voice that you do not have permission to publish.
Also check the ending for accidental spoilers or context that changes the meaning of the moment. If the clip includes a viewer's username, make sure the interaction is appropriate to share. When a clip is questionable, keep it unpublished and create a safer version from a different section of the broadcast.
Write a title that explains the moment
A useful clip title tells a new viewer what they are about to see without trying to describe every detail. Use the event, reaction, or consequence: "The door was not supposed to open" is more inviting than "funny moment from stream." Keep the wording specific enough to create curiosity and accurate enough to match the video.
Do not rely on a title that promises something the clip does not deliver. Misleading titles may earn an initial click but make the content harder to trust and share. If the moment depends on a game, challenge, or recurring segment, include that context in a short phrase rather than assuming every viewer knows your stream.
Share the clip as an invitation, not a dump
After publishing, choose one or two destinations where the moment fits naturally. Add a short sentence explaining why you selected it, then point interested viewers toward the relevant Twitch channel or upcoming broadcast. Avoid posting a bare link repeatedly; the surrounding sentence gives people a reason to watch and helps them understand what they will see.
Keep a small record of clips that earn meaningful reactions, comments, or repeat views. You can use that record to identify which moments represent your stream best. If you need to preserve published highlights for later editing, a tool such as a Twitch clip downloader can help you keep an organized personal archive, subject to Twitch's rules and the rights of everyone shown.
Ready to run viewers, chatters, or followers from one dashboard?
View pricing